
要求
1.elk版本为8.6.1 rpm安装
2.启动命令
systemctl start elasticsearch.service
systemctl start logstash.service
systemctl start kibana.service
3.创建elk账号,通过浏览器https登入kibana页面系统,配置用户权限,命令空间相关权限
4.通过filebeat收集共享目录日志/prod-meta-logs
5.收集所有k8 pod项目应用服务日志,并可以在kibana web页面discover上查看每个对应用服务实时日志 (按照应用服务名字创建索引名称,取关键词单词)
自己手动写入测试日志,是否能从kibana web看到实时日志
6.日志保留60天 (涉及到支付金钱,日志要求保留45-60天)
7.服务器重启,需要elk服务开机自启
下载elasticsearch包
[root@elk86 ~]# wget https://artifacts.elastic.co/downloads/elasticsearch/elasticsearch-8.6.1-x86_64.rpm
安装jdk安装包
JDK下载地址:https://download.oracle.com/java/17/latest/jdk-17_linux-x64_bin.rpm
[root@elk86 ~]# rpm -ivh jdk-17_linux-x64_bin.rpm
[root@elk86 ~]# rpm -ivh elasticsearch-8.6.1-x86_64.rpm
--------------------------- Security autoconfiguration information ------------------------------
Authentication and authorization are enabled.
TLS for the transport and HTTP layers is enabled and configured.
The generated password for the elastic built-in superuser is : 690ZURv74yCY_tPz2+T*
If this node should join an existing cluster, you can reconfigure this with
'/usr/share/elasticsearch/bin/elasticsearch-reconfigure-node --enrollment-token '
after creating an enrollment token on your existing cluster.
You can complete the following actions at any time:
Reset the password of the elastic built-in superuser with
'/usr/share/elasticsearch/bin/elasticsearch-reset-password -u elastic'.
Generate an enrollment token for Kibana instances with
'/usr/share/elasticsearch/bin/elasticsearch-create-enrollment-token -s kibana'.
Generate an enrollment token for Elasticsearch nodes with
'/usr/share/elasticsearch/bin/elasticsearch-create-enrollment-token -s node'.
NOT starting on installation, please execute the following statements to configure elasticsearch service to start automatically using systemd
sudo systemctl daemon-reload
sudo systemctl enable elasticsearch.service
You can start elasticsearch service by executing
sudo systemctl start elasticsearch.service
[/usr/lib/tmpfiles.d/elasticsearch.conf:1] Line references path below legacy directory /var/run/, updating /var/run/elasticsearch → /run/elasticsearch; please update the tmpfiles.d/ drop-in file accordingly.
修改elasticsearch配置文件:
[root@elk86 elasticsearch]# vim /etc/elasticsearch/elasticsearch.yml
network.host: 0.0.0.0
http.port: 9200
设置为开机自启,启动elasticsearch
[root@elk86 elasticsearch]# systemctl enable elasticsearch
[root@elk86 elasticsearch]# systemctl start elasticsearch
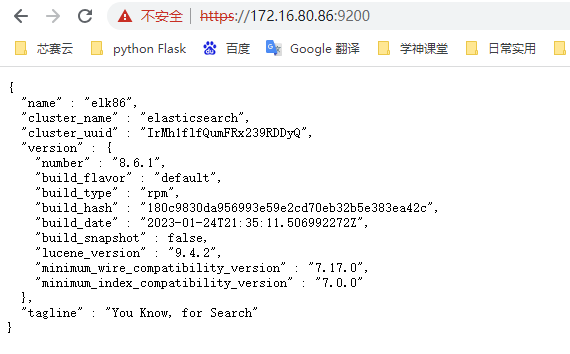
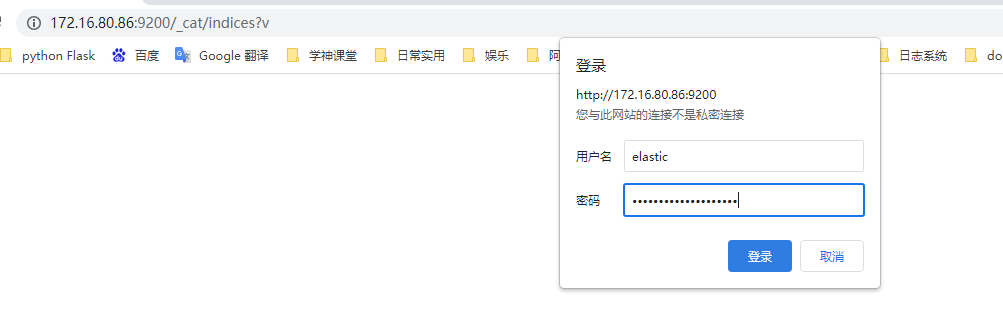
默认elasticsearch访问需要https访问
账号:elastic
密码:690ZURv74yCY_tPz2+T*
安装kibana
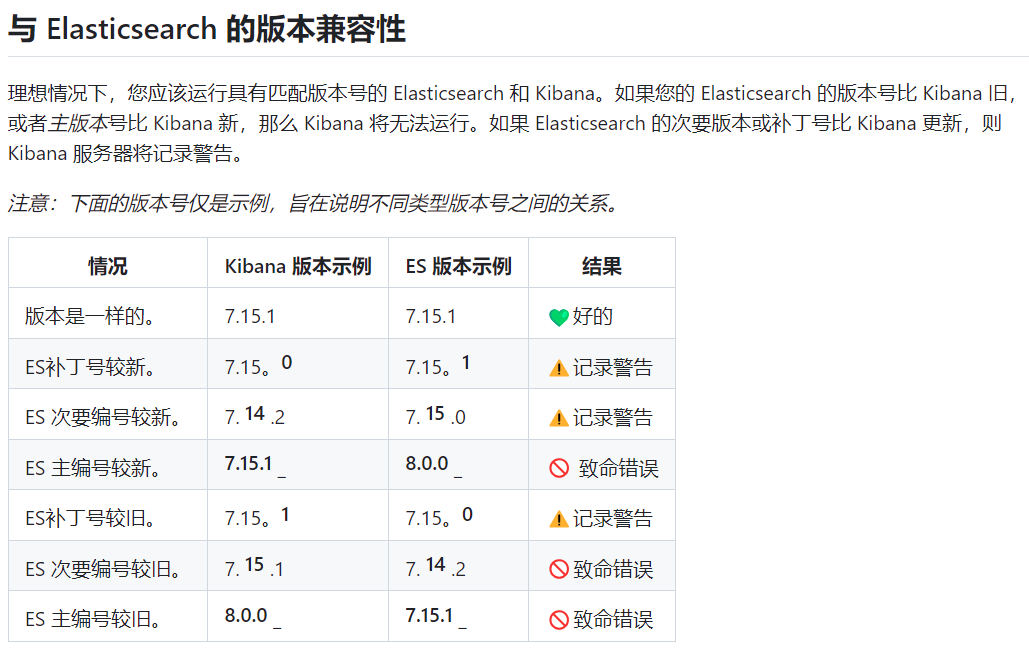
kibana和es版本关系,建议版本一致
[root@elk86 ~]# wget https://artifacts.elastic.co/downloads/kibana/kibana-8.6.1-x86_64.rpm
[root@elk86 ~]# rpm -ivh kibana-8.6.1-x86_64.rpm
[/usr/lib/tmpfiles.d/elasticsearch.conf:1] Line references path below legacy directory /var/run/, updating /var/run/elasticsearch → /run/elasticsearch; please update the tmpfiles.d/ drop-in file accordingly.
[root@elk86 ~]# systemctl enable kibana
编辑配置文件
[root@elk86 ~]# vim /etc/kibana/kibana.yml
server.port: 5601
server.host: "0.0.0.0"
[root@elk86 ~]# systemctl start kibana
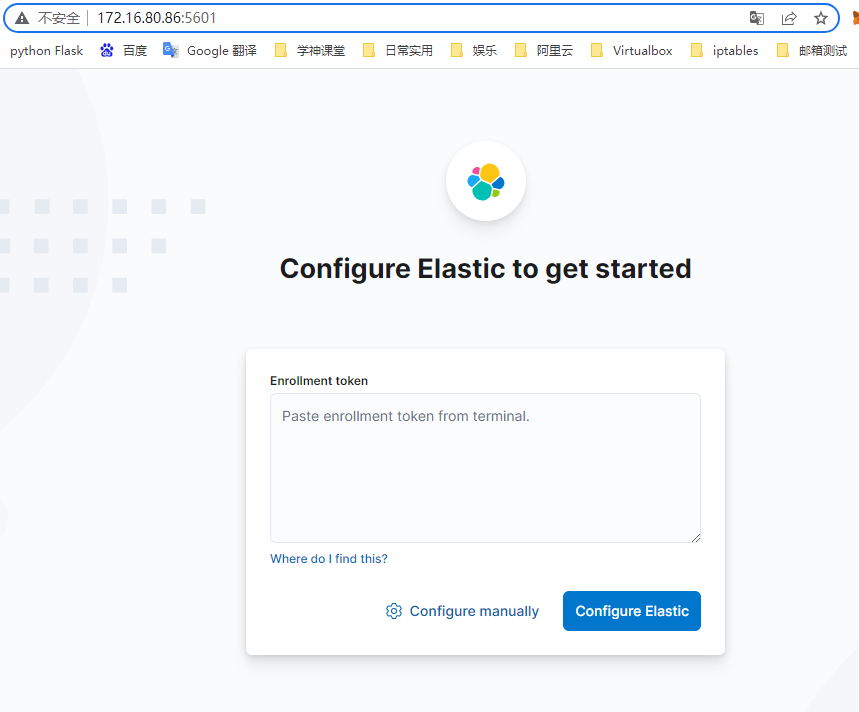
访问页面进行初始化

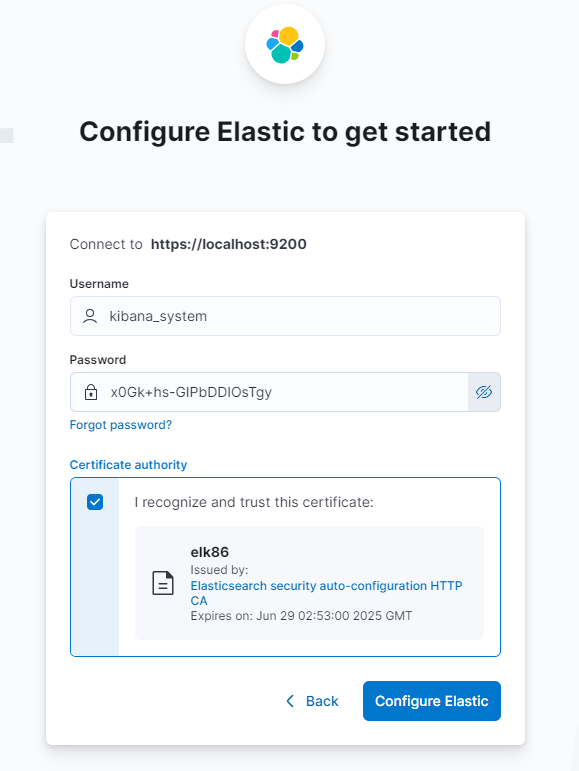
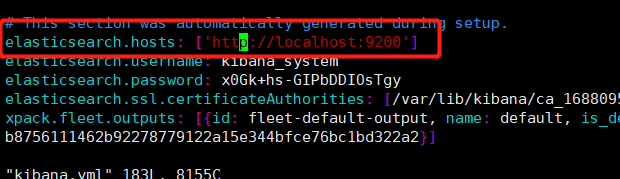
默认不知道kibana_system秘密,进行重置
[root@elk86 ~]# /usr/share/elasticsearch/bin/elasticsearch-reset-password -u kibana_system
This tool will reset the password of the [kibana_system] user to an autogenerated value.
The password will be printed in the console.
Please confirm that you would like to continue [y/N]y
Password for the [kibana_system] user successfully reset.
New value: x0Gk+hs-GIPbDDIOsTgy
账号:kibana_system
密码:x0Gk+hs-GIPbDDIOsTgy
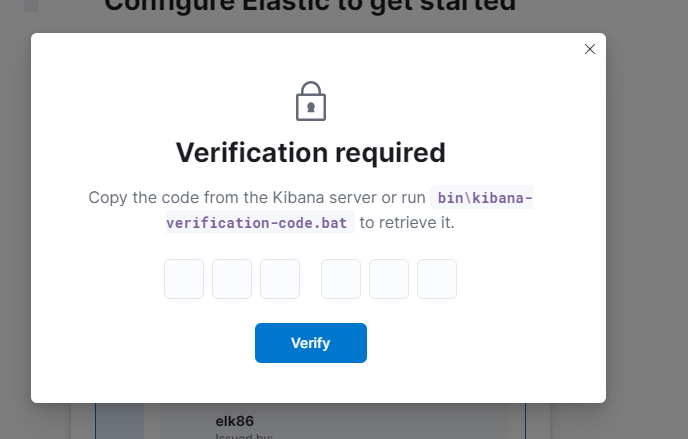
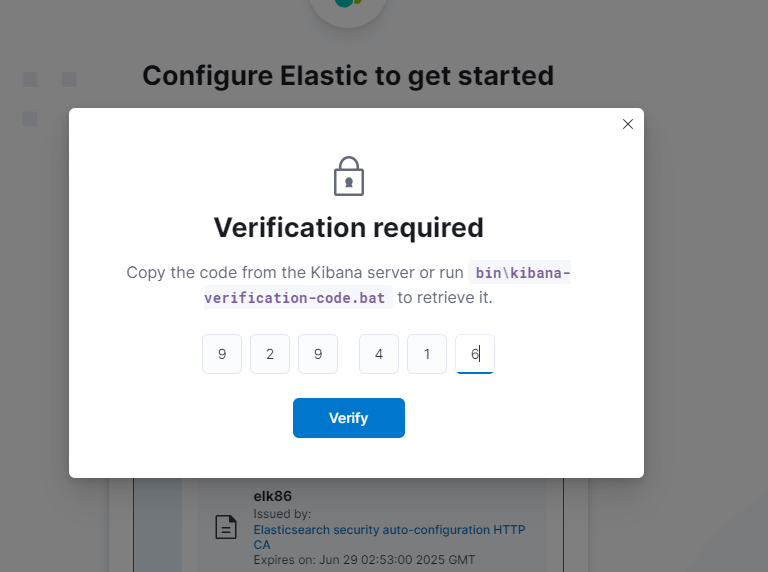
获取kibana的code验证码
[root@elk86 ~]# /usr/share/kibana/bin/kibana-verification-code
Your verification code is: 929 416
kibana登录账户是:elastic 密码:690ZURv74yCY_tPz2+T*
上面kibana连接elasticsearch使用的是https,这样在logstash连接es的时候也需要配置账号密码,证书。可以关闭ssl认证使用账号密码验证

重启elasticsearch
[root@elk86 elasticsearch]# systemctl restart elasticsearch
kibana需要重新配置,关闭ssh连接,使用http
编辑kibana配置文件
重启服务
[root@elk86 kibana]# systemctl restart kibana
为kibana生成https证书
[root@elk86 certs]# /usr/share/elasticsearch/bin/elasticsearch-certutil ca --days 3650 --pem --out /root/certs.zip
解压certs.zip文件
[root@elk86 ~]# unzip certs.zip
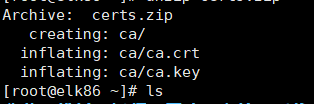
把证书文目录重命名为certs件移动到kibana配置目录中
[root@elk86 ~]# mv ca certs
[root@elk86 ~]# mv certs /etc/kibana/
在kibana配置文件中启用ssl
vim /etc/kibana/kibana.yml
server.ssl.enabled: true
server.ssl.certificate: /etc/kibana/certs/ca.crt
server.ssl.key: /etc/kibana/certs/ca.key
重启kibana
[root@elk86 kibana]# systemctl restart kibana
kibana访问地址为:https://172.16.80.86:5601
安装logstash服务
logstash版本要和es版本对应
[root@elk86 ~]# wget https://artifacts.elastic.co/downloads/logstash/logstash-8.6.1-x86_64.rpm
[root@elk86 ~]# rpm -ivh logstash-8.6.1-x86_64.rpm
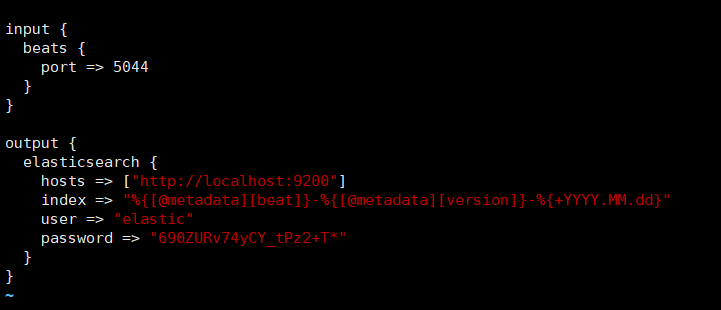
设置配置文件
[root@elk86 conf.d]# systemctl enable logstash
Created symlink /etc/systemd/system/multi-user.target.wants/logstash.service → /usr/lib/systemd/system/logstash.service.
[root@elk86 conf.d]# systemctl start logstash
安装filebeat服务
filebeat可以安装日志服务器上方便搜集日志
[root@elk86 ~]# wget https://artifacts.elastic.co/downloads/beats/filebeat/filebeat-8.6.1-x86_64.rpm
[root@elk86 ~]# rpm -ivh filebeat-8.6.1-x86_64.rpm
配置文件导入测试环境模板
[root@elk86 filebeat]# systemctl start filebeat
[root@elk86 filebeat]# systemctl enable filebeat